Tuesday, September 27, 2011

Spider Plate


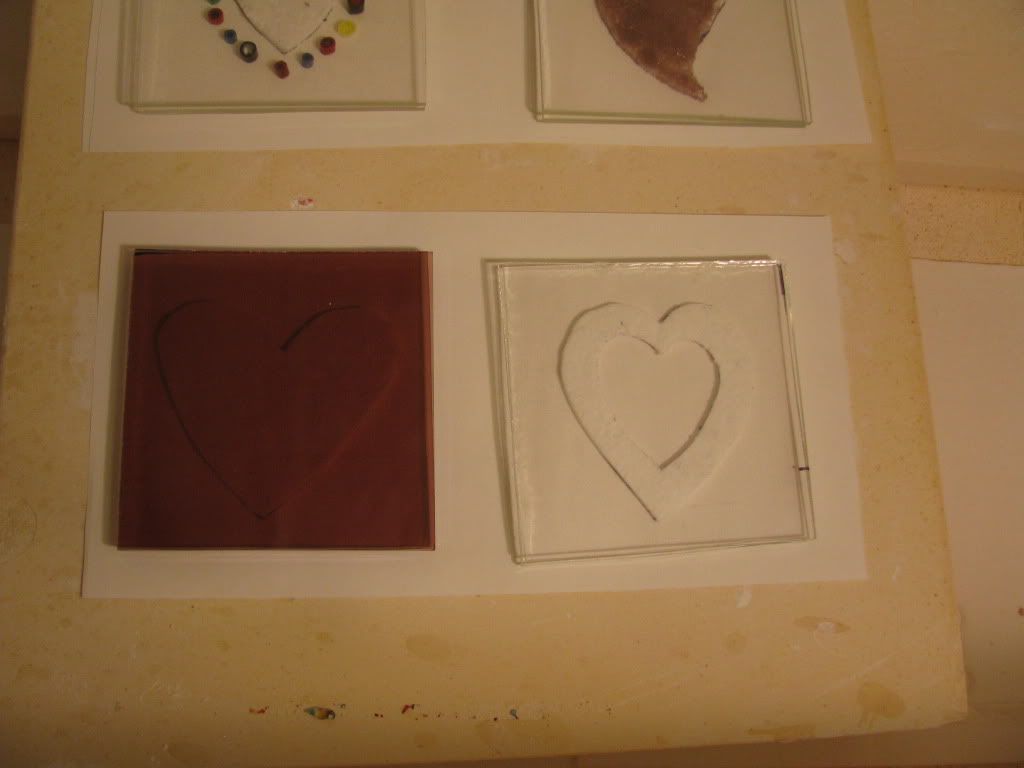
Three things come to mind when I think about my Halloweens as a child -candy (of course), pumpkins, and spiders. I've been wanting to try to make a spider web out of glass for a while, so I decided it was time to do it.

I chose a 9" white blank for the background and to decorate I used Grape Strips and Amazon Green Noodles. I couldn't make a spider web without a spider, so I used a Black Pebble, Black Rod Dot and Black Stringer to build my spider. Easy enough, not too many different pieces!

Supplies I used were a Morton Work Surface, Glass Cutter, Running Pliers, Wheeled Nippers, and our really cool new adhesive, No Days, since I had not used it before.

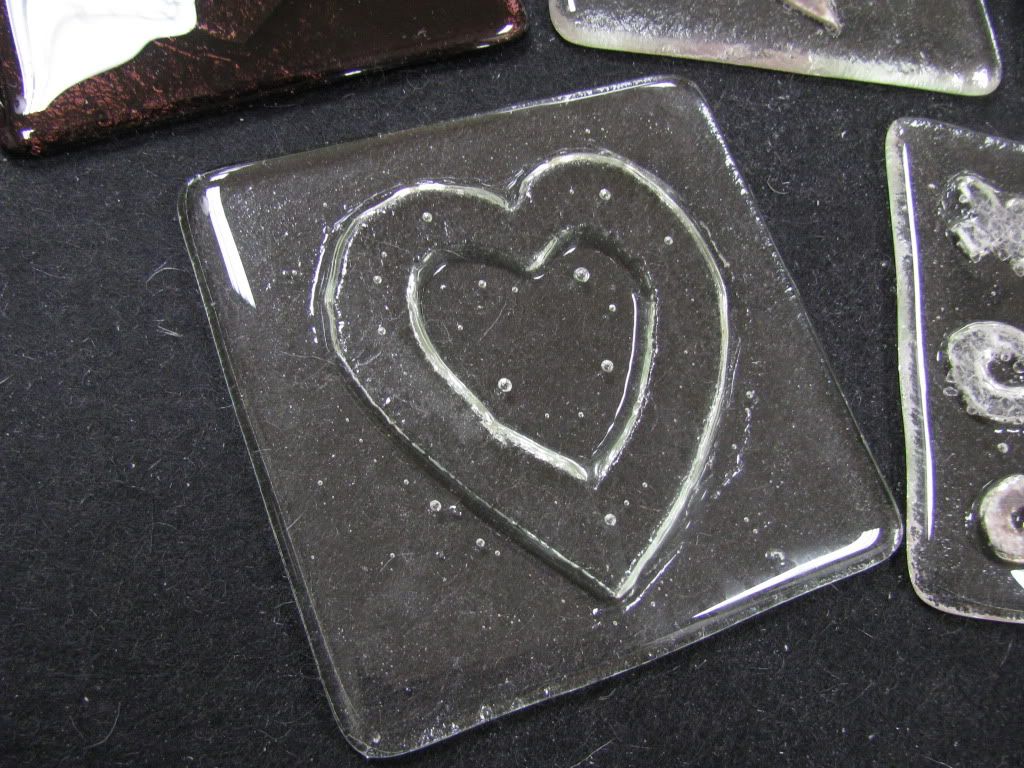
I used the Grape Strips to build a border, or frame around the blank, and proceeded to lay the Amazon Green Noodles across the blank to build the web by having them cross in the same spot. They were piling up pretty high where they crossed, so I had to cut a few in half to help them lay flat. I then cut smaller pieces to make the rings around the web.

After I finished the web, it was time to build a spider. I used the Pebble for the spider's body and the Rod Dot for the head. The stringers were a perfect size for little spider legs. I just laid them down so they came out from the body and touched the web.

The reason I chose the 9" blank is so I can slump it on the Jumpin' Jack Splash Mold and turn into a candy dish!

Let me know if you have any questions!

Take care,

The Warm Glass Guy

Tuesday, July 12, 2011

Nifty Name Plaque Project


A few days ago I was sitting on the floor of my son's room making towers of Lego blocks because he likes to knock them over. That's why one of his nicknames is Eamonzilla, and he even has a cute little roar to go with it. So, as I was repeatedly building these towers I thought it would be cool to make him a wall sign with his name on it...not his Lego tower crushing name, but his real name.

As with most of my projects, I try to make them a little challenging by only using one or two types of glass elements and seeing if I can pull it off. Because we have a lot of new Buffalo Chips and Carolina Frits, I decided to use only those. And to build on I chose a Glass Slab, which is 12" x 6" and perfect for a sign. A Glass Slab, Buffalo Chips and Carolina Frit...no cutting required.

I thought of three different ways to make the name, so I gathered two of my co-workers, Kelley and Kelci, and got to work. The Buffalo Chips and Frit started flying (good thing we wore our safety glasses) and before long we had signs.


Kelci used only Frit to make her letters.

Kelley used only Buffalo Chips to make her letters.

I used Buffalo Chips and Carolina Frit to make these letters.


I think they all turned out pretty cool. This is a project that just about anyone can do, as there was no cutting involved. Sure you can use nippers to cut the Buffalo Chips, or you can cut the Slab if you don't want a perfect rectangle, but you don't have to. Some other glass components you can use that don't require cutting are Pebbles, Bits, and CutUps. This would also make a good camp project, and can take from 45 minutes to an hour and a half.

I recommend writing the name on the glass with a sharpie pen before you get started so you know the name will fit. It's very easy to make the letters a little too big and run out of room. Also, before you get started, think about how you want to display it, because you have several options.

1) Design Integrated Hanger with string or wire
2) Drill holes for string or wire
3) Jewelry Bails with string or wire

There you go! Have fun with it!

Happy Fusing!
-Warm Glass guy

Thursday, April 14, 2011

Cutting Glass Circles: You Can Do It!

Hello all! I've been asked several times about cutting glass circles, so I decided to make a video showing how it's done. I know after watching this that all of you will think I am some kind of glass wizard, but rest assured cutting circles is not magic. Believe me, if you know how to cut glass then you can cut circles. And, it's like riding a bike. Once you get the hang of it it's a piece of cake. You'll be so excited that you can cut circles that there probably won't be a square left in your studio! Anyway, enjoy this video and let me know if you have any questions.

Happy Cutting!

Tuesday, March 29, 2011

Project: Scatter Platter


Scatter platters are a really fun and easy warm glass project, and also a good way to use up the scrap glass, a.k.a. decorative elements, that you've accumulated from other projects. This is a project that will be Full Fused. There are two ways to make these, on a blank and for the more adventurous fusers, without a blank.

To get started, the first thing you will need to do is gather everything you will need for this project:

Glass Blank
Scrap Glass (Transparent glass looks the best because the glass will be overlapping, which adds more colors)
Wheeled Mosaic Nippers
Thinfire paper
Kiln Shelf or Kiln-washed Tile

Photobucket

Version 1
Now that you have everything, start by nipping the scrap glass into small pieces.

Photobucket

Next, create a second layer by arranging the pieces randomly on the blank. After adding the second layer, I made a third layer by overlapping the glass pieces. Otherwise, it will look like a mosaic, which looks good, but not what I was trying to make. If you did want to make a mosaic, you can use fine or medium Frit and brush it in the gaps between the glass pieces on the second layer.

Photobucket

After the third layer is added, fuse it and slump it and it will look something like this:

Scatter PlatterPhotobucketPhotobucket


Version 2
Now to show you how to make one without a blank, and let you know what you should avoid to get the best results.

Keep in mind, this project will need to be assembled on a kiln shelf, tile, or directly in the kiln. First, I used a pencil to make an outline of a glass blank on thinfire paper the size of my project and laid the paper on a kiln shelf. Next, I cut up scrap glass into larger pieces than I did for the previous project.

Photobucket

Then I started laying the pieces of glass within the lines of my outline, and did so in three layers. This is where you need to be cautious with how much colored glass you use. I made this project 3-4 layers high, forgetting that if the transparent glass is more than two layers thick, it starts to become very dark. So if I was going to recreate this project, which I certainly will, I will use just as much clear glass as I do pieces of colored transparent glass.


As you can see below, it doesn't look too bad before it is fired.
Photobucket


Now look at how dark it becomes when it is fused.
Photobucket

I originally was going to slump this piece into a bowl, but seeing how dark it is when laying flat I decided against it, and will probably drape it for a pendant light because it looks better when light is shining through it.

Photobucket

Tips for success:
1. Have fun!
2. Avoid using too many layers of colored transparent glass.
3. Use a lot of clear glass to keep your project from becoming too dark.
4. Have fun!

Happy fusing!
-Warm Glass Guy

Thursday, January 20, 2011

The other side of Fiber Paper -Embossed Glass


I think most people know that fiber paper is used when fusing glass. It's used as a buffer between the glass and kiln shelves to prevent glass from sticking to shelves and air from being trapped under the glass and forming large pizza-crust type bubbles. In addition, the thicker fiber papers (1/16", 1/8", and 1/4") can also be used under Thinfire paper to give a smoother surface to the back of your glass projects if a kiln shelf is damaged. If you have rough kiln shelves and only use Thinfire paper, the back of the glass will show every imperfection in the shelf, whether it is glaze stuck to the shelf or craters left from pulling off glazed pottery that was stuck.

Basically fiber paper is just an afterthought to fused glass projects. A pretty boring product, right? Well, I'm going to let you in on a little secret. Fiber paper can also be used as a design element. Sounds crazy, I know. The truth is that there are several other uses for fiber paper besides a fusing surface. However, I'm only going to cover one now. You'll have to check back later for more.

So what I am going to show you is how to use fiber paper to make embossed glass. People of all ages can do this project. It's really very simple process that yields very cool results. You can use just one color of glass to make really cool pieces. I just kind of came up with a few project ideas on-the-fly. So once you see what I've done, let your imagination run wild and give it a shot.


Materials needed:
Transparent glass cut to the size of your project, two "blanks" for each project. You must use transparent glass to be able to see the embossed image.
Transparent or Opalescent Frit
1/8" thick Fiber Paper
Scissors
Sharpie marker or pencil

In a nutshell, we are going to cut shapes out of fiberpaper,place it under the glass, and then fuse it to create an embossed look.

Because of the time of year, I did a Valentine's Day themed project with hearts, hearts and more hearts. The sky is the limit as to what you can up with. Christmas ornaments, Easter eggs, flowers, stars, etc are just a couple of examples. Basically, any shape you can cut out of paper will work. It can be a recognizable shape, or random shapes for texture.

I also did one with X's and O's from scrap paper I had left over after cutting out the hearts. So in a way, fiber paper is like glass, in that there is no waste.

Step 1:
Assuming the glass is already cut to the size you need it, draw a shape on the fiber paper that will fit within the dimensions of the glass. Or, if you don't need to draw it, just go ahead and cut the shape out.


Step 2:
Place the fiber paper shape under two layers of glass and set your kiln to Full Fuse.


Step 3:
Full Fuse the glass.


Step 4:
Soak the glass in water to help dissolve the paper. Then rinse off the glass and use a plastic bristled brush to remove any remaining paper.

Ta-da!
Here is one I made with a heart with another heart cut out of the middle. This was made with two pieces of clear glass and a piece of fiber paper...as simple as can be.


This one is a heart in light purple glass


Here is the back so you can see the the detail of how it works:


This one had Frit glued to the top of the fiber paper


I used Millefiori around the heart on this one.


Using the scrap fiber paper I had left over after cutting out hearts, I cut a bunch of X's and O's.

It can be that simple; although, you can add other steps to further customize your project.
-Frit can be glued to the top of the fiber paper, but doesn't give the best results. If you decide to use Frit, use fine-textured.
-Use other design elements around the shape.
-Decorate the top of the glass

So there it is. I hope you have fun coming up with other projects that use this technique. Email any project or random glass questions to warmglassguy@gmail.com