Monday, October 11, 2010

Project M.A.P.U.O.G.D.E.C.


Project M.A.P.U.O.G.D.E.C.
(Make A Piece Using One Glass Design Element Challenge)

Every so often I see something that inspires me to do something wacky, which in the end I hope inspires you to do something fun and creative. The source of inspiration in this case was an email I received with a picture of a high heel shoe made of glass. I'm not sure exactly how it turned into a challenge, but here we are.

Step 1 Get Participants
Again, my co-workers Crista and Kristin agreed to play, so we had three including myself.

Step 2 The Rule
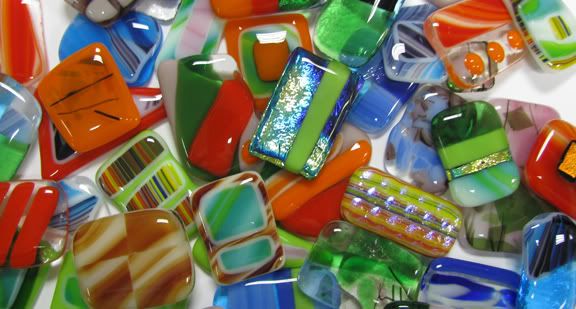
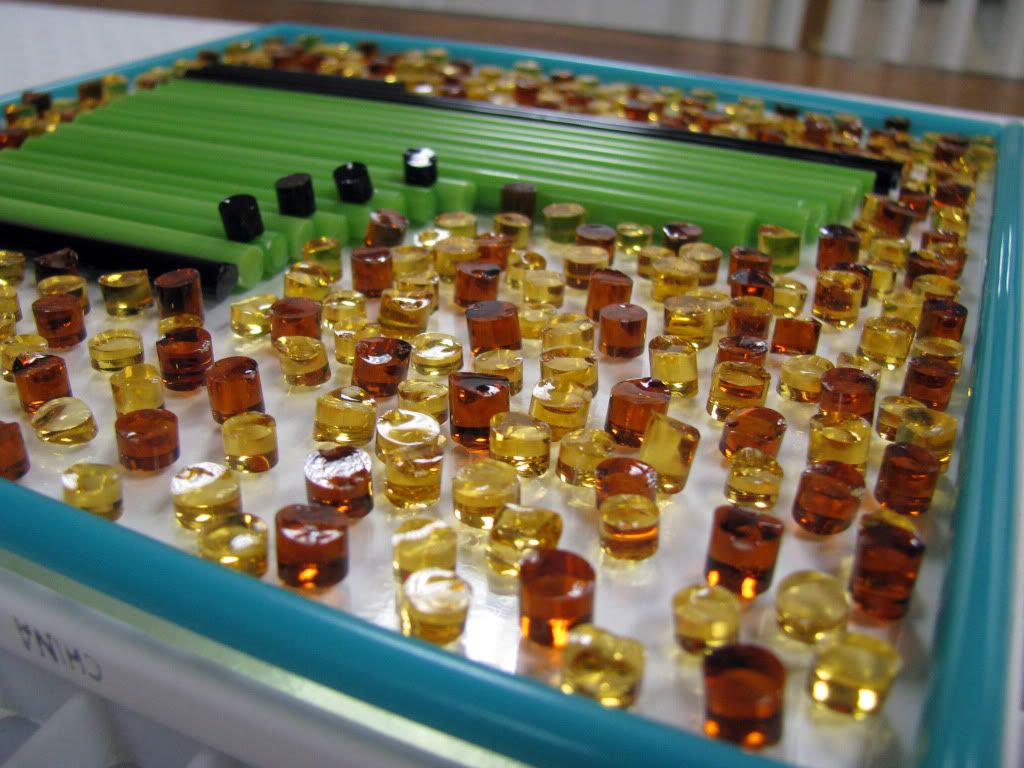
There is only one simple rule, make an art piece using one glass design element on top of a glass blank. We decided to make footwear because of the inspiring email. For glass elements we chose between Buffalo Chips, Frit, and Rods. After an intense game of paper-rock-scissors, the participants had their assigned design elements.

Step 3 Create!
The following pics are the result of our creative session.

Frit Sandals:
Photobucket Photobucket

Rod Frankenboot:
Photobucket Photobucket

Buffalo Chips Galosh:
Photobucket Photobucket


Step 4 Contour Fuse the Pieces

Step 5 Enjoy the fruits of your labor!

The finished pieces:
Photobucket Photobucket

Photobucket Photobucket

Photobucket Photobucket

This was a very fun project and didn't take very long to complete. There were a couple other versions of this challenge that were came up with before we settled on using only one design element.

Idea 1: Just like the Great Glass Pendant Challenge, use scrap glass to create the footwear. We chose against this because we wanted to do something a little different this time.

Idea 2: Each participant creates an article of clothing (shoes, shorts/pants, shirt, hat) out of scrap glass. After firing, use
bails and wire to assemble and then hang it on a wall. Or, use high temp wire to connect the separate pieces during firing. Essentially, you make a whole person. This could be a good way for studio employees to become more familiar with warm glass, while making a cool sample to hang on your studio wall or in your front window. Remember, samples sell!

Enjoy!

BONUS: Match the participant (Chris, Crista and Kristin) with the glass piece they created and win $20 in Bisque Bucks, which is redeemable in product at www.bisqueimports.com! The first person to email
the correct answer to warmglassguy@gmail.com wins!

UPDATE: The $20 in Bisque Bucks has been claimed by Shea at Glazy Dazy. The correct answer is Chris made the Frankenboot, Crista made the Galosh, and Kristin made the Sandals. Thank you to everyone that sent in answers.

Monday, June 14, 2010

Preparing Slump and Drape Molds

When it comes to shaping glass in a Paint Your Own Pottery studio you have two options, slumping and draping. Slumping is done in a bisque mold and draping is done over a stainless steel mold. Why are there two different materials? Let me explain. Bisque, stainless steel, and glass all expand and contract at different rates. Bisque expands and contracts slower than glass, and stainless steel expands and contracts faster. So, what does that mean? It means that you want to slump glass inside of bisque, and drape glass outside of stainless steel. Clear as mud? Great! Now that we have that out of the way, lets focus on preparing molds for shaping glass. Molds need to be primed prior to firing, and just as there are two different materials used for shaping, there are different ways each one is primed. We'll start with a slump mold.

To prime a slump mold we use Primo Primer . It comes in a powder form to keep shipping costs low. It is very easy to mix, and even easier to apply. Mix the primer in a container with one part primer to four parts water, until the primer is dissolved in the water. I've found that warm or hot water helps the powder dissolve faster. I use a Hake Brush to mix and apply the primer because it mixes and applies faster. Ok, now that the primer is mixed you are ready to prime the mold. Wipe down the mold with a damp sponge to clean it. Use the Hake Brush to apply three coats of primer to the bisque. Allow each coat to dry before applying the next. I can usually apply the first two back to back, because the first coat dries very quickly. After all three coats are applied, the mold should be cured. To cure the mold, fire it at 550 degrees for 20 minutes. I’ve also had good luck setting the mold in the sun for a few hours or letting it sit overnight. You will be able to slump multiple times before you need to reapply primer.

Now, let’s look at stainless steel drape molds. This is even easier to do than the bisque molds. We use Boron Nitride to prime stainless steel. It comes in a spray can, so it's ready to use right out of the box. First, you need to clean the mold with rubbing alcohol. Second, you will apply two to three light coats of Boron Nitride. Just like the bisque molds, you should allow each coat to dry before applying the next one. The last step before draping your glass art is curing the mold. Curing the mold will make the finish more durable and last longer. Fire the mold at 200 degrees for 20 minutes. You can also let it air dry or sit overnight, but you may not get as many firings before you need to reapply the primer. Occasionally, the primer will become flaky and fall off of the mold. Just remove any remaining loose primer and reapply in those spots. That’s all there is to it!

Are you fired up? Good!

You can also watch these award winning videos*, done by yours truly, to see how to do each.


If you have any questions about this, let me know!


*may not be true

Friday, April 30, 2010

The Great Glass Pendant Challenge


Scrap Glass. With every completed project, the amount of it grows and grows. Sometimes I have a hard time coming up with ways to use it. I look at all the scrap glass we have and get a little overwhelmed. There are simply too many possibilities, so I get a small case of option paralysis.


Option paralysis: The tendency, when given unlimited choices, to make none.


So, one day I came up with an idea for how to combat this phenomenon. Thus, the Great Glass Pendant Challenge was born. The pendant challenge eliminated option paralysis and the amount of scrap glass, but it also made for a very cool and fun exercise that I think will work well in a studio atmosphere.


There are several variables that can be changed to make this fit a variety of circumstances, but the general idea is very simple to initiate.

This is how I did it.

Step 1) Get Participants
My co-workers Crista and Kristin agreed to the challenge, so we had three including myself. This exercise will work with one person or many, but the more the merrier.


Step 2) Decide on a time frame for the challenge.

I think we chose 30 minutes, but it can be any length to fit your time frame.


Step 3) Get Glass

Each person collects ten pieces of scrap glass, all varying in colors, types (stringers, noodles, rods) and sizes. We also chose one secret ingredient, a piece of Dichroic from a Jazzy Jar
. You can choose more or less pieces of glass, different numbers of each type, etc. Just make sure each person gets a wide variety of colors and types. We cut many 1" x 2" clear blanks in case anyone wanted to use a blank. These blanks do not count towards the ten pieces.

Step 4) The Switcheroo

Once the glass has been chosen, set it on your work surface. Now the fun begins.
Each person will not use the glass they have selected, but by the person sitting on their left. So everyone move one seat to the left. Why, you ask? Because I thought it would be fun to do it this way. Besides, this exercise is designed for you to have fun, and to get people to think a little out of the box.

Step 5) What's next

After the time is up it's likely that there will be glass left over. We moved another seat to our left and made more projects with that glass until we either ran out of glass or ideas. A time limit can also be set for this step.


So there you have it. The Great Glass Pendant Challenge. Use it as a fun night for your customers, a team building exercise for your studio employees, or for any other purpose you see fit. One thing is for sure, it will reduce the ever growing amount of scrap glass in your studio and will be a great time for all involved.

Unfortunately, all the fun photos taken during our challenge were lost when my hard drive decided to go on permanent vacation, so I don't have anything showing who made what. I have since taken individual pictures of all the pendants that were made. They can be viewed here. Enjoy!

If you have any questions I can be reached by email at warmglassguy@gmail.com

Thursday, April 1, 2010

Wicked Awesome Warm Glass Weave Effect!

Photobucket
This is a relatively easy project to make that yields some very attractive results. I say attractive because everyone that walks past my desk picks it up and asks how it was done. If you can score glass in a semi straight line, you can make this project. First things first, I cannot take credit for coming up with this brilliant idea, the honor goes to Jim Gregory at Spectrum Glass. Now, I have a slightly different version of his project and just like most recipes, one doesn’t have to follow directions to a T to get excellent results.


Materials I used:
Photobucket
2 - 8” Clear Square Blanks
1 – Package of New Orleans Stripes
1 – Package of Cobalt Blue Strips
1 – Medium Moss Green Frit

(Your materials may vary. For instance, if you have enough clear scrap glass to cut 13 one inch squares, you may only need one 8” clear square blank. Also, you may want to use a different color of Stripes, border or frit.)


Step 1)
Border

To get started, I made a border around one of the clear blanks with the Cobalt Strips.


Step 2)
Squares for the grid

I cut the Stripes into squares that are slightly larger than one inch. I use the Morton Work Surface as a guide, because the work surface grid is made up of squares that are approximately half an inch. For my 8” project, I used 25 squares for a five by five grid. If you want to make a 10” or 12” version, you may need 36, 49 or even 64 squares, for a six by six, seven by seven, or eight by eight grid.


Step 3)
The assembled grid

Arrange the squares in the middle of the blank in a grid pattern so that every other square is turned. Make sure all the Stripes are face up or face down. There should be even space between the grid and the border all the way around.


Step 4)
Clear squaresClear squares on alternating stripe squares

I cut thirteen one inch clear squares to be placed on every other square in the grid like a checker board, starting in the corner. The clear squares are what makes this piece work. Because they are placed on every other square effectively making a third layer of glass in those spots, when full fused they will melt into the glass under them and make them bulge out. The adjacent squares will be squeezed in, completing the weave look.


Step 5)
After the frit has been addedClose up of frit

The last step before firing is to fill the space between the grid and border with frit. This is the biggest difference between my version and the Spectrum version. For the Spectrum version you cut and place thin strips of clear glass in this space. To do that, every square has to be cut into precisely the same size to make a perfect square when the grid is assembled. Then, every clear strip has to be precisely cut to fill the space between grid and border. Using the frit allows for a margin of error and eliminates waste from having to recut squares to make them perfect. Frit is a wonderful thing!


Now, all that is left to do is full fuse this piece and slump it into your favorite mold. Enjoy!


The original version by Spectrum Glass can be found here

If you have any questions you can email me at warmglassguy@gmail.com

Tuesday, March 23, 2010

Glass Pendant Light Kits

We introduced our brand new Pendant Light Kits at CeramaJam 2010, and they were the talk of the event. Many studio owners were inspired by the samples pendant lights we have hanging in our office and the interactive class on learning to drill holes in glass. If you are looking for a way to step up your glass sales, to really wow your customers, and keep them coming back for more, our Pendant Light Kits are perfect for you!

The best way to get your customers interested in making their own glass pendants is to display the pendant lights that you and your staff create in your studio! Your customers will admire these lights and you can explain that they too can have similar pendant lights in their home.

More and more people want do-it-yourself projects for the feeling of accomplishment. Bisque Imports carries a full line of easy to install pendant light kits at affordable prices and in a variety of finishes to suit your design tastes! Help your customer refresh their home with this simple and easy project.

For more information on our Pendant Light Kits and How-to Guides: