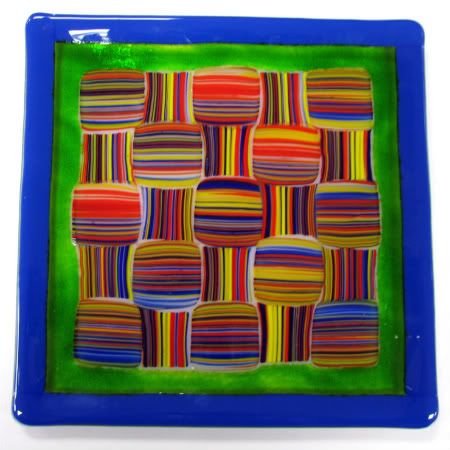
This is a relatively easy project to make that yields some very attractive results. I say attractive because everyone that walks past my desk picks it up and asks how it was done. If you can score glass in a semi straight line, you can make this project. First things first, I cannot take credit for coming up with this brilliant idea, the honor goes to Jim Gregory at Spectrum Glass. Now, I have a slightly different version of his project and just like most recipes, one doesn’t have to follow directions to a T to get excellent results.
Materials I used:
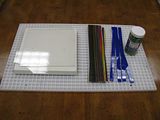
2 - 8” Clear Square Blanks
1 – Package of New Orleans Stripes
1 – Package of Cobalt Blue Strips
1 – Medium Moss Green Frit
(Your materials may vary. For instance, if you have enough clear scrap glass to cut 13 one inch squares, you may only need one 8” clear square blank. Also, you may want to use a different color of Stripes, border or frit.)
Step 1)
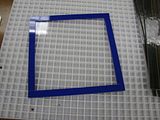
To get started, I made a border around one of the clear blanks with the Cobalt Strips.
Step 2)
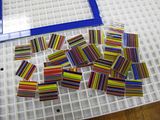
I cut the Stripes into squares that are slightly larger than one inch. I use the Morton Work Surface as a guide, because the work surface grid is made up of squares that are approximately half an inch. For my 8” project, I used 25 squares for a five by five grid. If you want to make a 10” or 12” version, you may need 36, 49 or even 64 squares, for a six by six, seven by seven, or eight by eight grid.
Step 3)
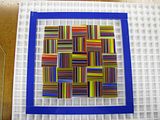
Arrange the squares in the middle of the blank in a grid pattern so that every other square is turned. Make sure all the Stripes are face up or face down. There should be even space between the grid and the border all the way around.
Step 4)
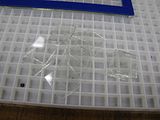
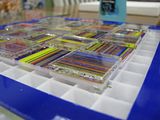
I cut thirteen one inch clear squares to be placed on every other square in the grid like a checker board, starting in the corner. The clear squares are what makes this piece work. Because they are placed on every other square effectively making a third layer of glass in those spots, when full fused they will melt into the glass under them and make them bulge out. The adjacent squares will be squeezed in, completing the weave look.
Step 5)
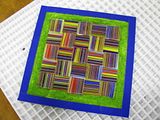
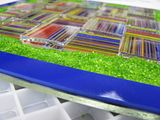
The last step before firing is to fill the space between the grid and border with frit. This is the biggest difference between my version and the Spectrum version. For the Spectrum version you cut and place thin strips of clear glass in this space. To do that, every square has to be cut into precisely the same size to make a perfect square when the grid is assembled. Then, every clear strip has to be precisely cut to fill the space between grid and border. Using the frit allows for a margin of error and eliminates waste from having to recut squares to make them perfect. Frit is a wonderful thing!
Now, all that is left to do is full fuse this piece and slump it into your favorite mold. Enjoy!
The original version by Spectrum Glass can be found here
If you have any questions you can email me at warmglassguy@gmail.com


No comments:
Post a Comment